Part 60: Intermission 3: Hachi Exhibition Match
Intermission 3: Hachi Exhibition Match (Advance Wars 2 Vs. Mode - Pointing River, Hachi vs. Kanbei)
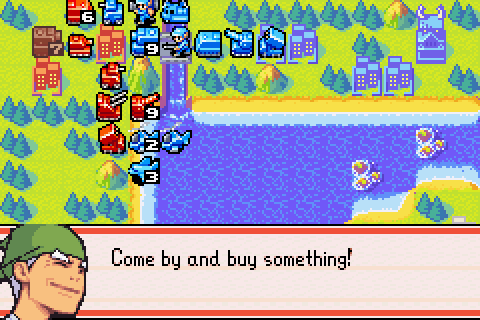
So, we're heading back to Advance Wars 2 again to again showcase something I should have got done in the AW2 Let's Play. We'll be showcasing Hachi the shopkeeper - and retired commander-in-chief of Orange Star. Hachi isn't playable in Advance Wars 1, but you unlock him in Advance Wars 2 by beating Hard Campaign (luckily I already have an LP all about that).
Hachi is a really broken CO, and today I plan to show why. First a few basics: his units are average, but he buys them at 90% cost. Again, if you're familiar with Advance Wars 2 you can think of him as a less extreme Colin. If you're not, he's a kind of reverse Kanbei. His regular CO Power, Barter, lowers his unit costs to 50%. Sounds like a tricky opponent, right? Especially when there's a lot of emphasis on buying units.

So naturally I'm going to be sending him out on a pre-deployed map. Yes, you heard correctly, the guy who gets to buy units for cheap isn't going to be getting any bases here.
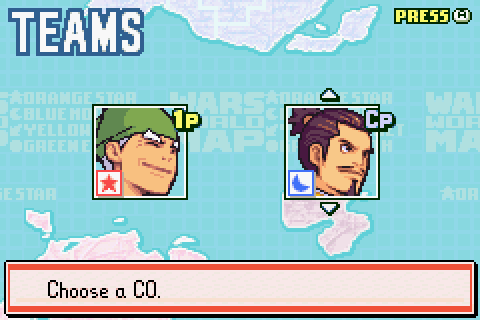
And I'm going to be sending him up against Kanbei, who naturally is an absolute monster in predeployed, when he doesn't have to worry about unit costs. To make matters worse, AW2 Kanbei gets 130/130 stats, compared with AW1 (and AWDS) Kanbei's 120/120.
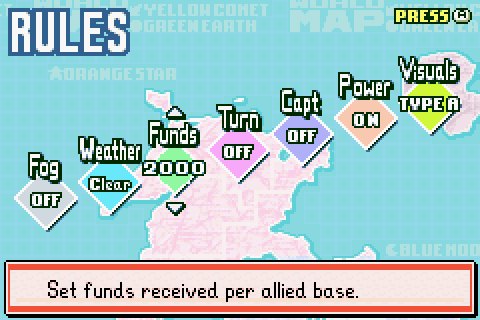
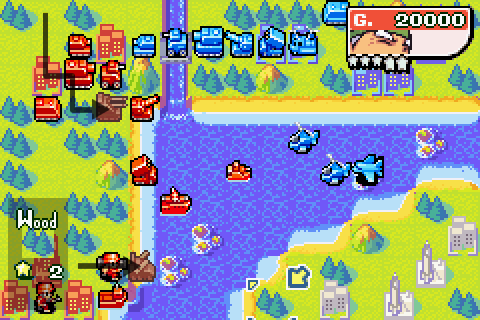
Oh, one last thing - I'm going to set each city to produce 2000G per turn instead of 1000G. But what effect could that possibly have on a pre-deployed map? Clearly I've gone mad.
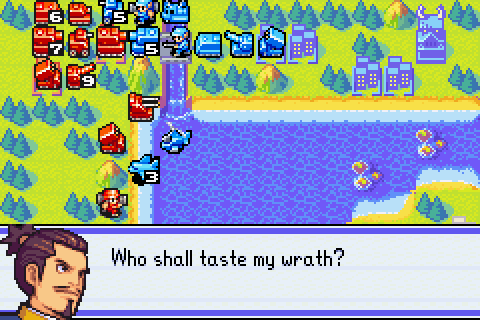
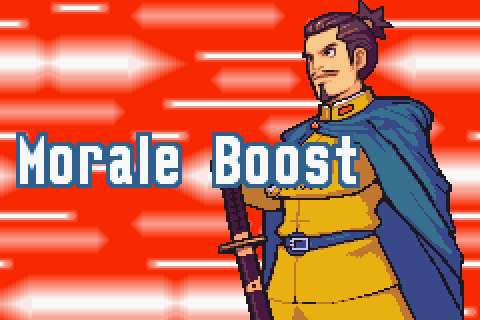
Anyway, queue up Hachi's rather chill Hawaiian theme music and get ready for an... interesting exhibition match.
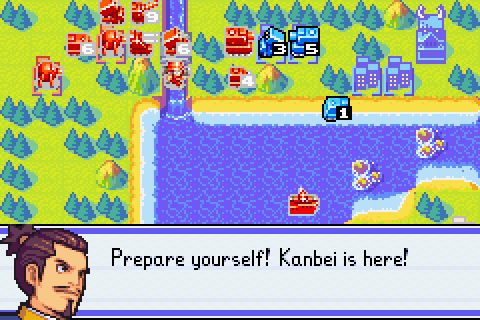
Day 1
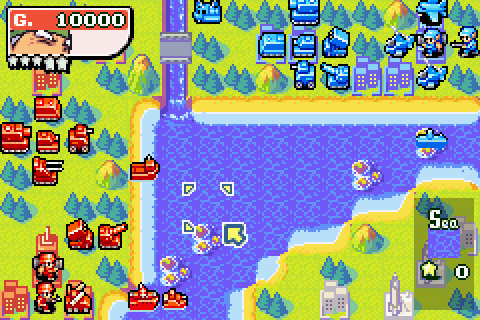
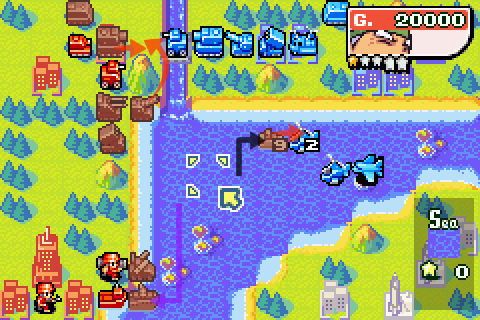
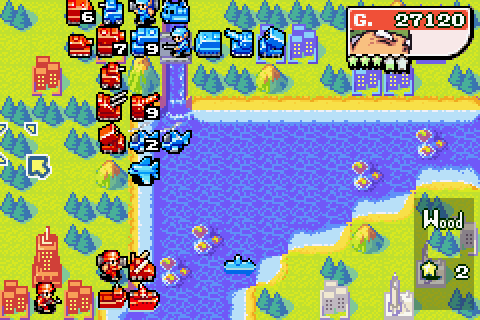
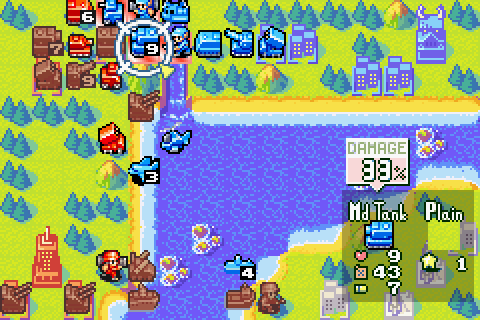
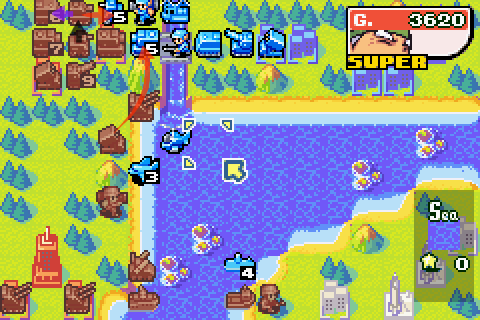
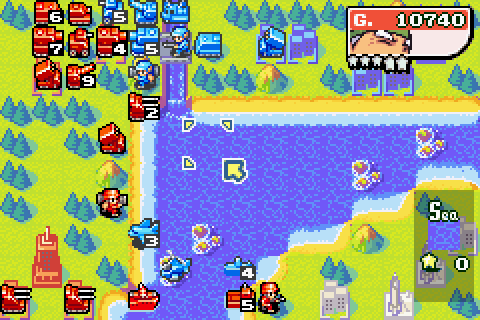
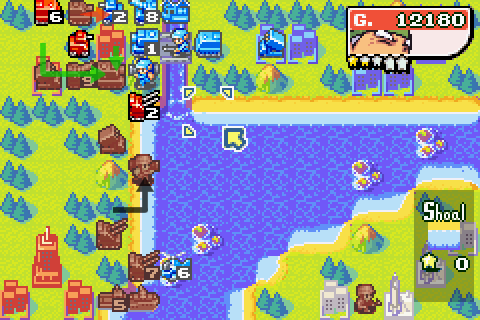
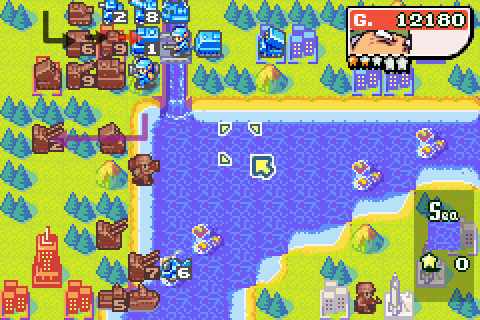
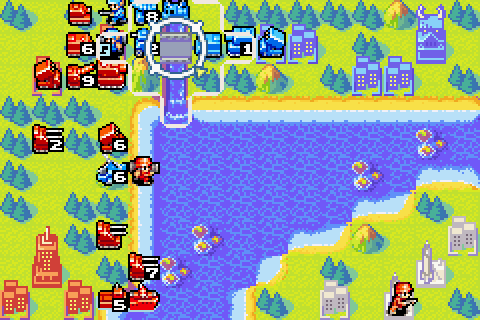
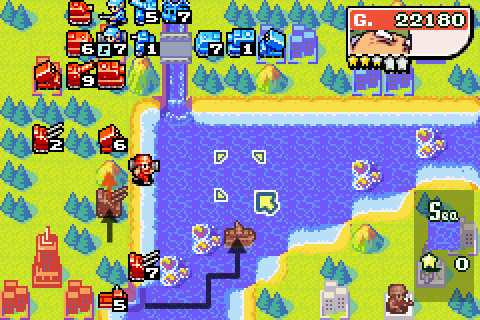
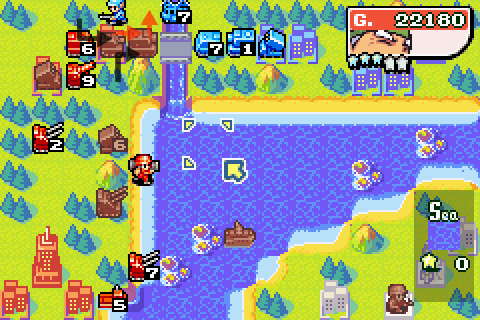
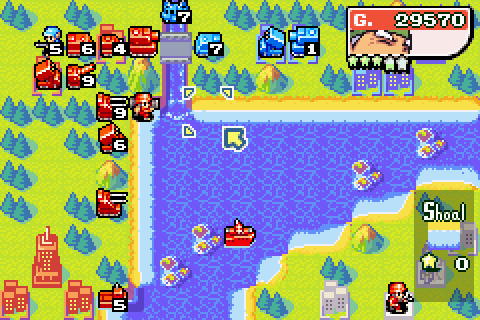
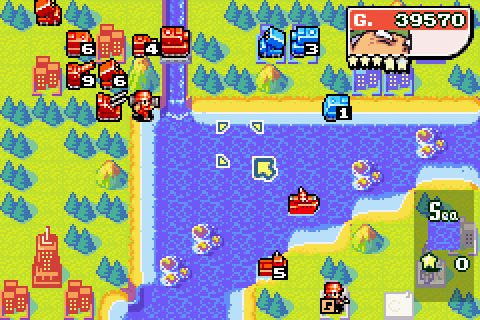
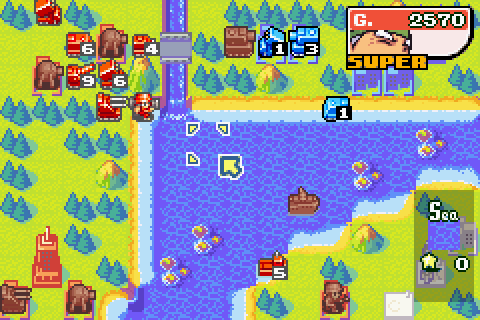
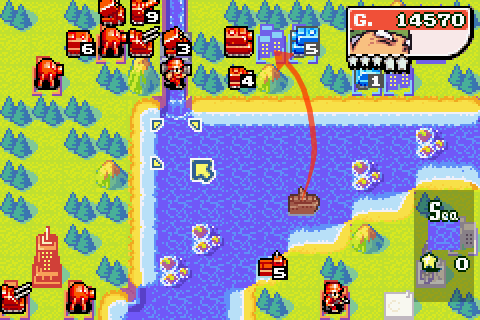
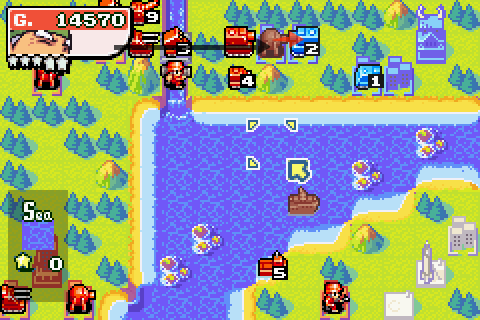
So here's the map. Bit of asymmetry to this: Kanbei gets an air force, we don't. We've got a bit more of a navy than he has, but air tends to beat navy so yeah, another tricky feature of this one.
I send the tanks and recon forth as an exploratory force, and bring the lander down ready to load some footsoldiers into it.

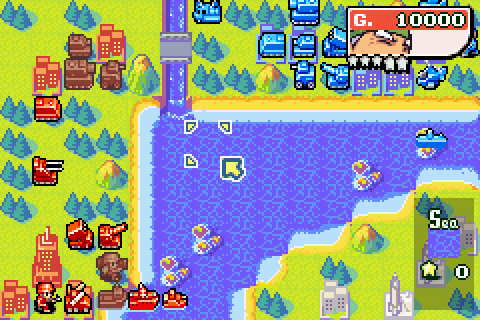
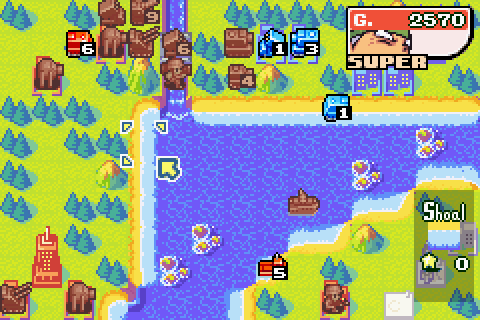
Moving the AA units and indirects around, too. They're going to be pretty key here.
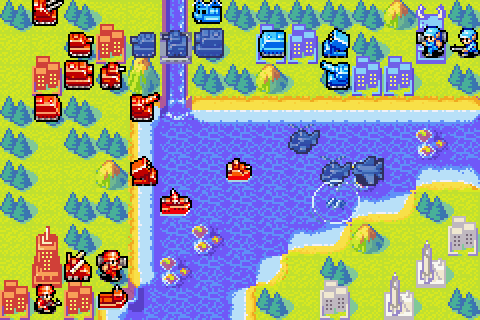
Here's where Kanbei dived his sub during his turn.
Day 2

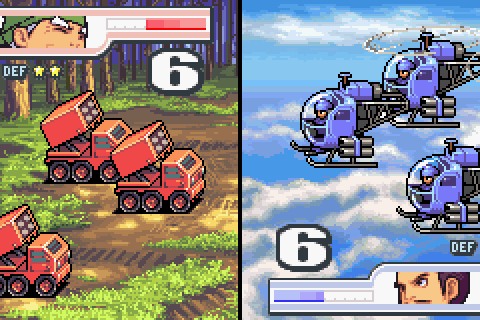
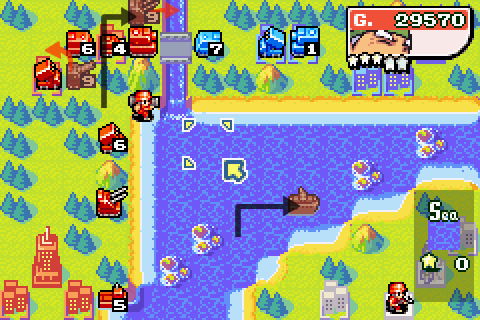
Some clever placement from Kanbei there. B copters are stopping my cruiser from getting to his biggest prize, the bomber.
Bringing the AA and missile launcher forward to deal with the incoming air invasion.
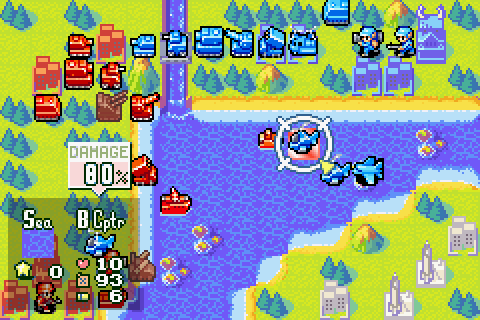

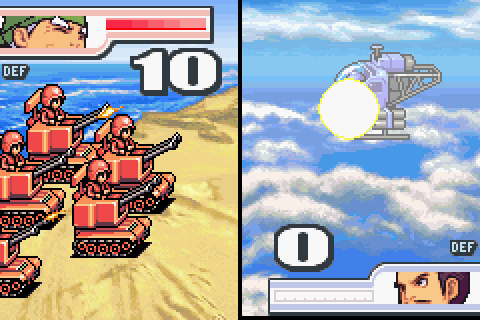
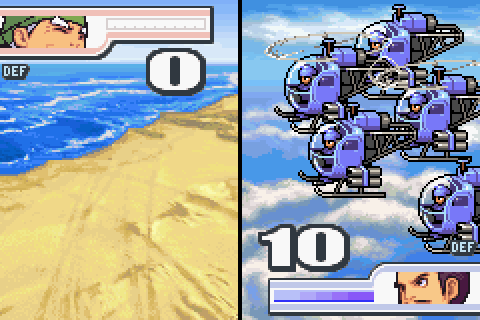
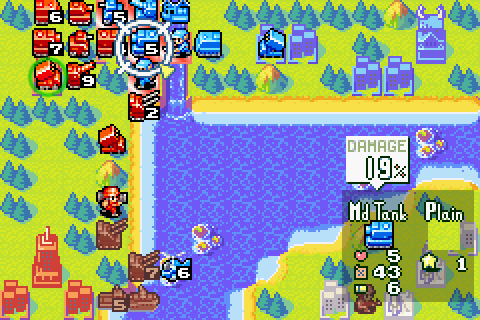
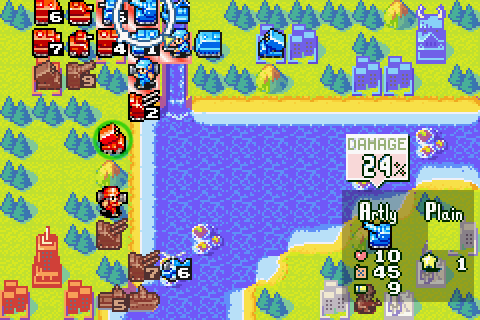
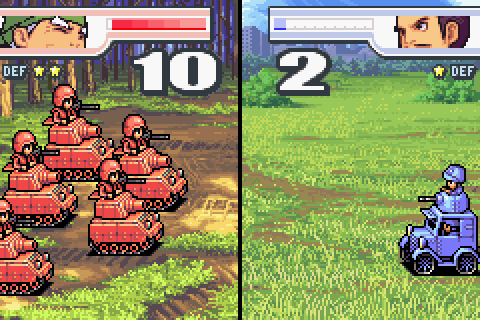
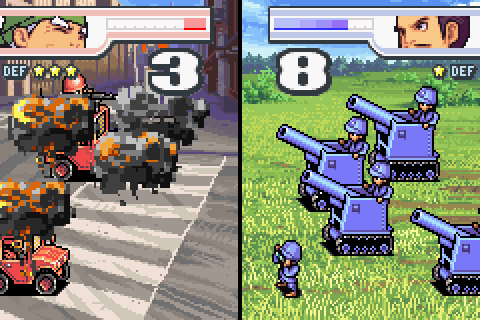
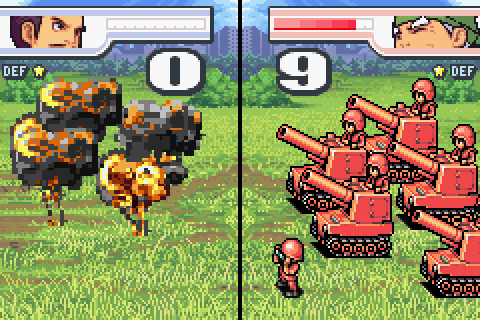
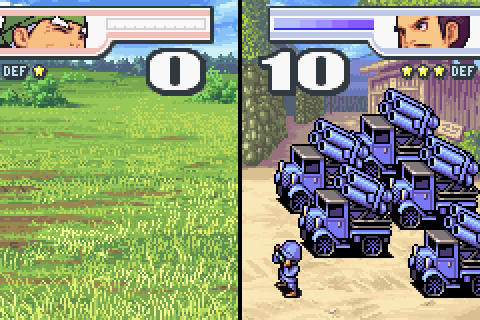
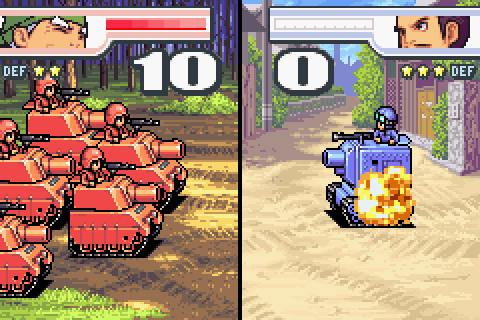
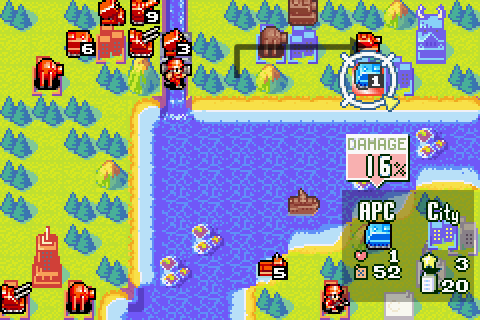
Cruiser targets a B copter (I'd have to spot the sub before I could attack it, after all) and here we can see the effects of that 30% defence boost in action - knocking the standard 115% damage for cruiser-attacking-B-copter down to a mere 80%.
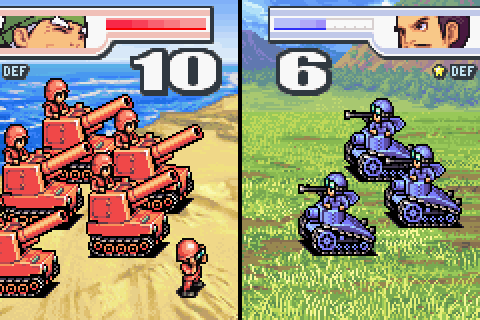
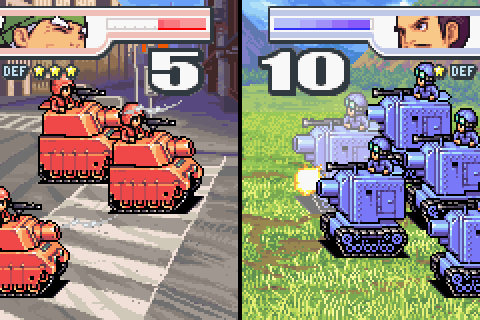
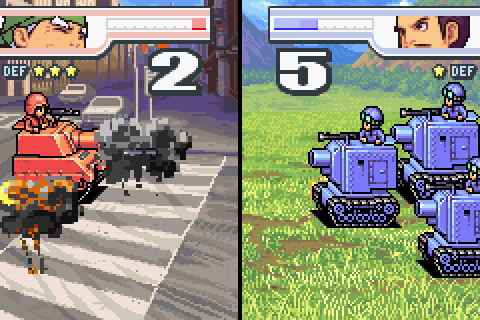
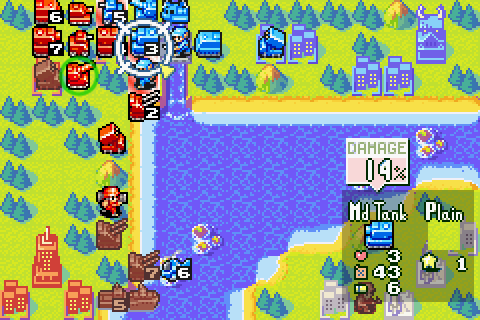
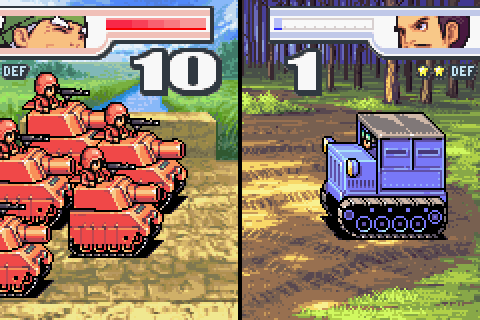
The defence bonus also makes it tougher to chew up this tank, although my arty and middie manage it between them.
Battleship retreats: there's nothing it can do out there. The cruiser's almost certainly going down this turn (apart from anything else, I derped and left it in rocket range), and our only hope is that Kanbei's sub, with nothing to attack, does a little AI derp and surfaces itself within battleship range.

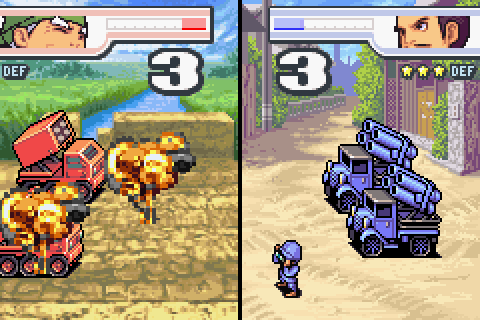
Yeah, the rockets destroyed the cruiser. I guess the good part about this is that it means they didn't attack my medium tank.
Kanbei's own medium tank certainly does, though.
Day 3
The good news is that Hachi's CO power meter already has a substantial amount in it. He could use Barter already - although of course, it's useless in pre-deployed. His Super CO Power, however...
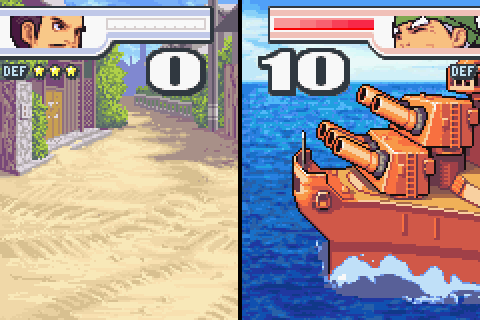
Well, first let's get it charged up. Some shots from battleship and missile launcher should help there (and yep, the sub did surface in range).

That's the power meter full. I'm just going to move back this medium tank in preparation

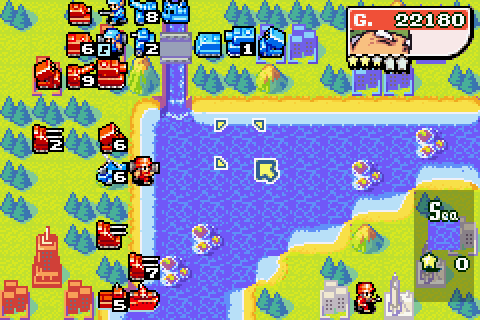
So here we are. Merchant Union.
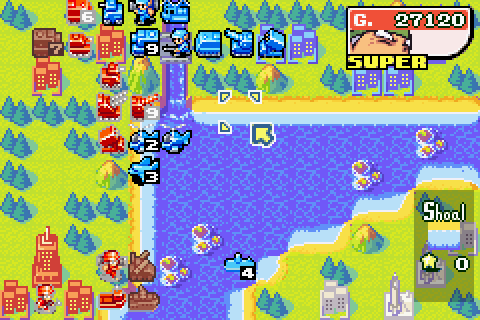
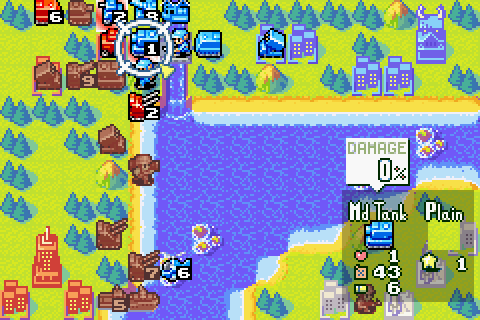
What does it do? Well, let's try pressing the A button over a city...
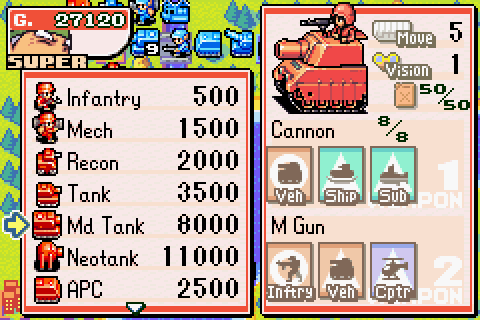

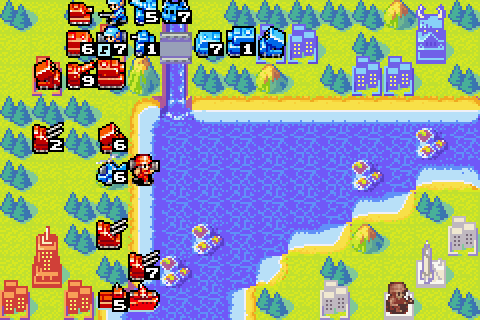
... yep. Merchant Union lets you buy ground units from cities. And at half price, to boot. I grab a medium tank from the city near Kanbei's lines.
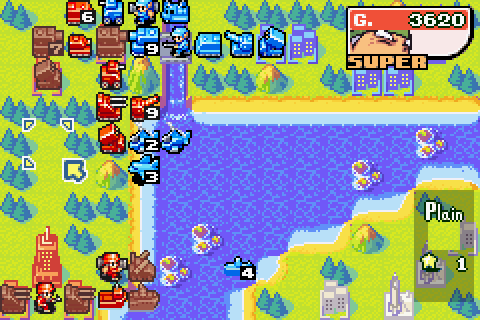
And I think I'll buy a rocket launcher behind it, and a couple more AAs in the south for dealing with Kanbei's pesky air force. Merchant Union, ladies and gentlemen.
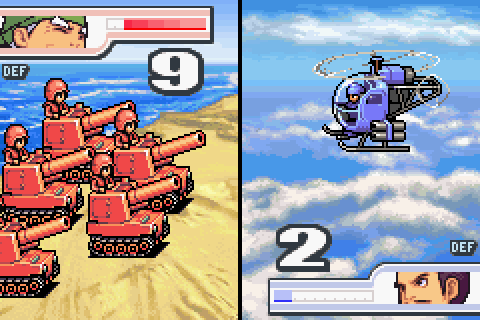
Our forces rejuvenated, we can take on some stuff. Shame the only thing this AA can hit is the 2HP B copter, but it's better than nothing.

Lander heads out to send an infantry to the southeastern island. Why, what could those mysterious pointy structures be?
Even with Merchant Union though, Kanbei is still a tank.
But we do what we can. Rocket attacks medium tank, light tank attacks recon.
Now then, let's see how Kanbei responds to Merchant Union.

He hits back with his own Super CO Power, Samurai Spirit. This sends Kanbei's attack and defence through the roof, as well as giving him a large bonus to counterattacks. In short, it is very difficult to attack Kanbei on the turn afterwards.
And he packs a fair punch on his turn, too.
Yes indeed.
But at least the sub derps by attacking the lander instead of submerging to escape the battleship's wrath.
Day 4
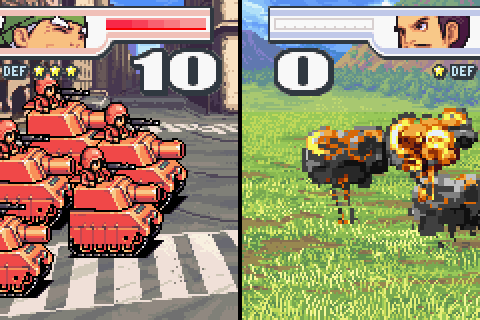
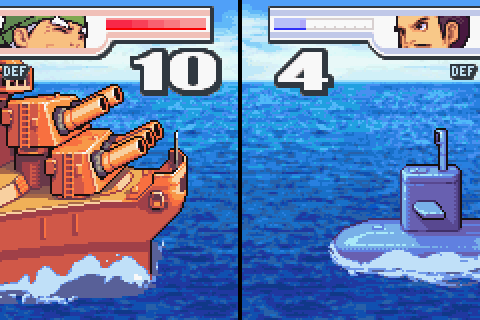
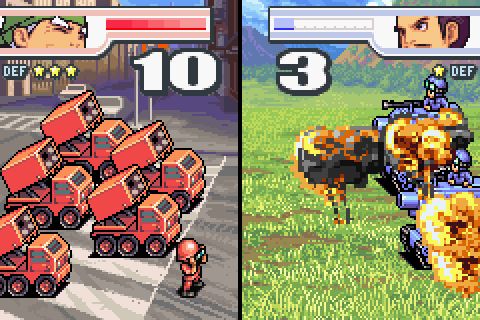
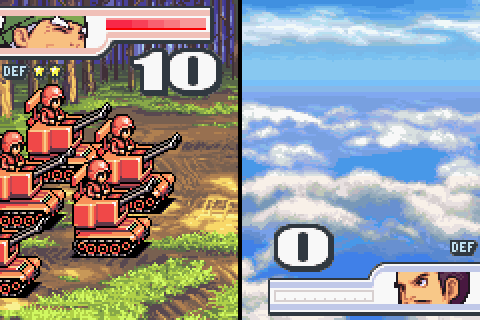
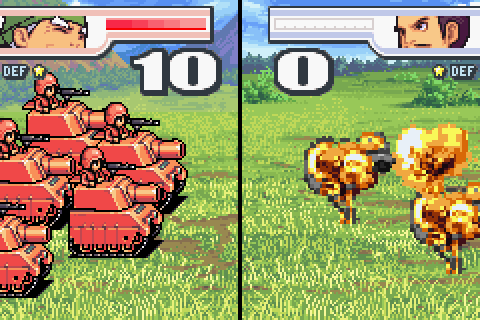
So, let's see what kind of numbers we get when we try to attack Kanbei after Samurai Spirit!
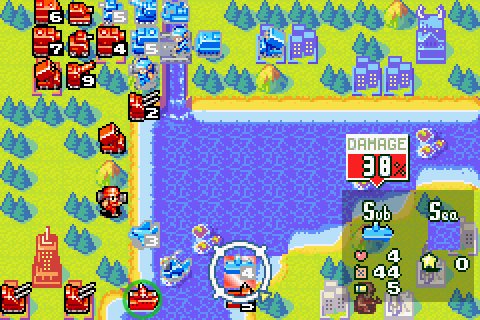

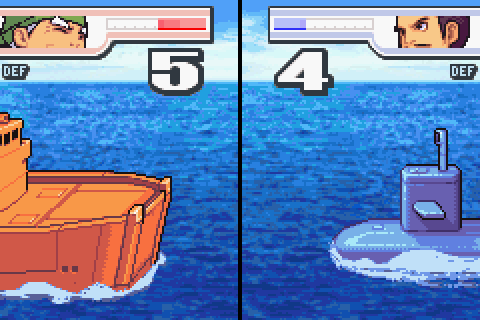
Luckily, 38% damage is enough to kill a 4HP sub.

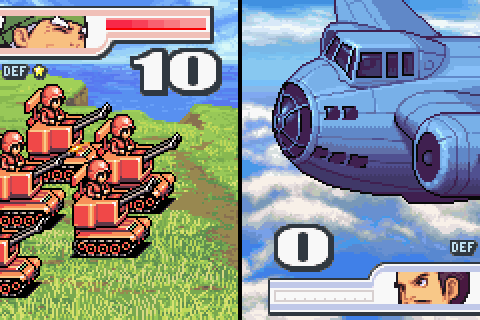
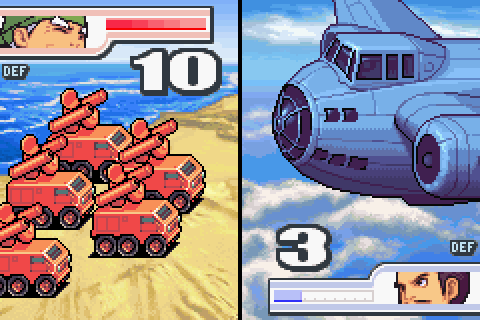
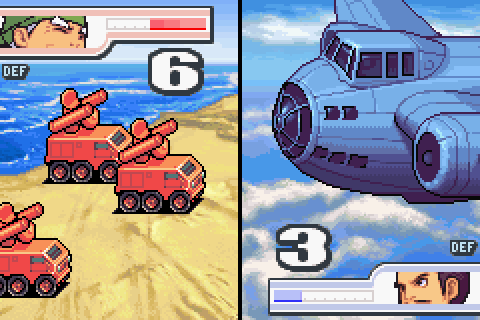
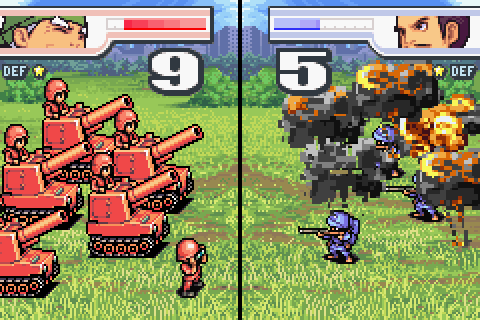
Similarly, 30% damage will take down this 3HP bomber.

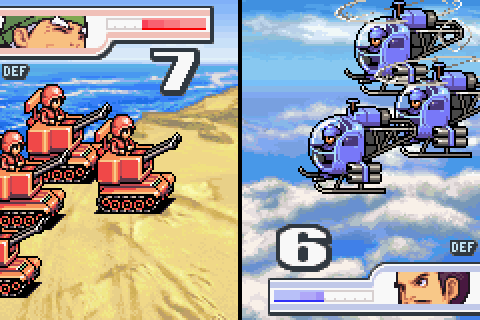
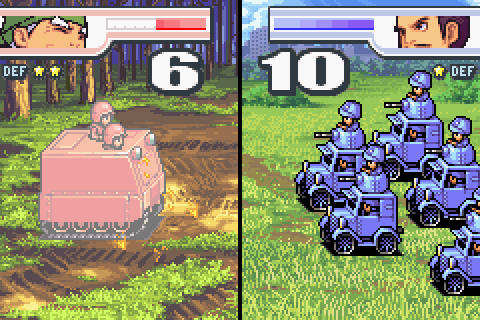
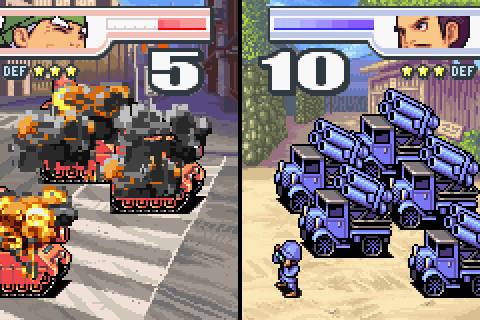
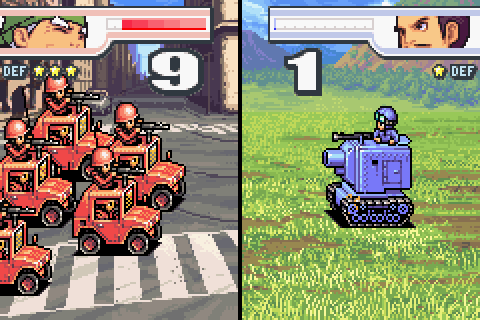
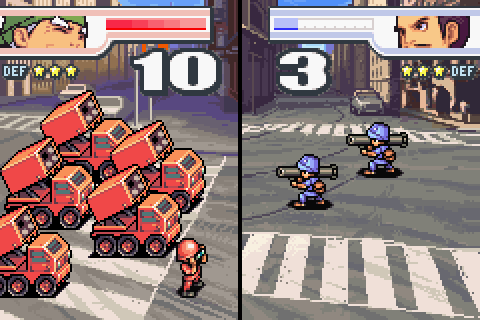
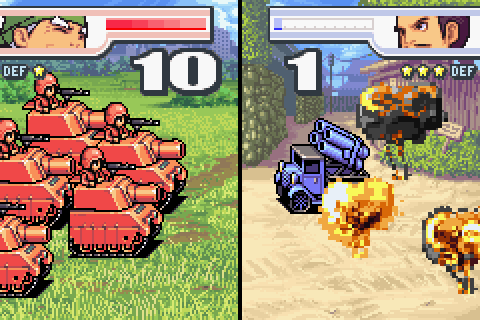
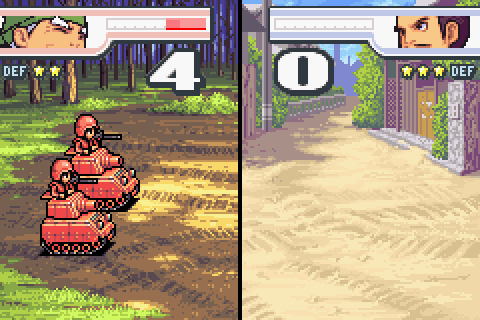
But yeah, only doing 48% damage to a B copter with an AA - and getting 3HP of counterattack damage in return - is serious stuff.
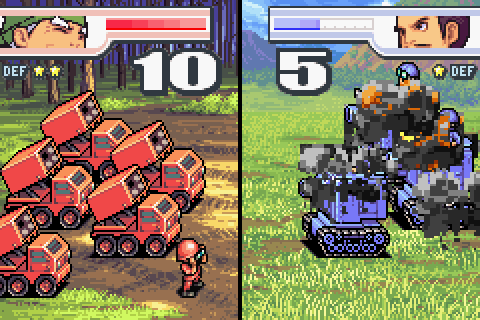
Rockets have a go at the medium tank.
Artillery follow up. Still can't quite finish the middie off though.
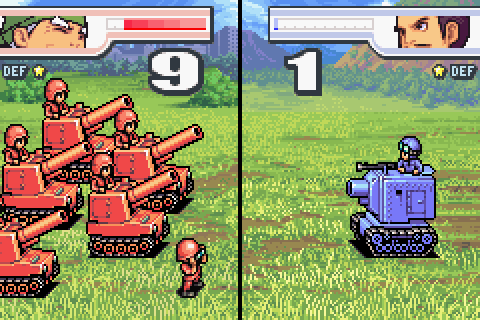
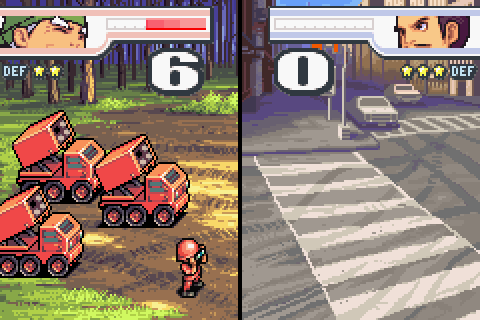
Let's try attacking this arty instead. Although 24% damage from a rocket launcher to an artillery is just pitiful.
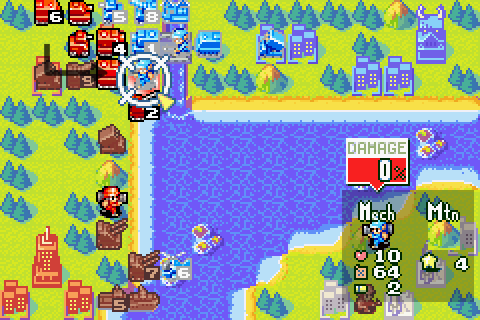
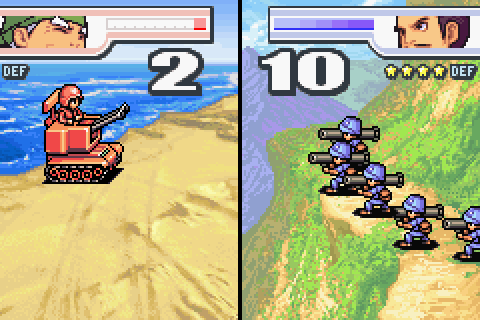
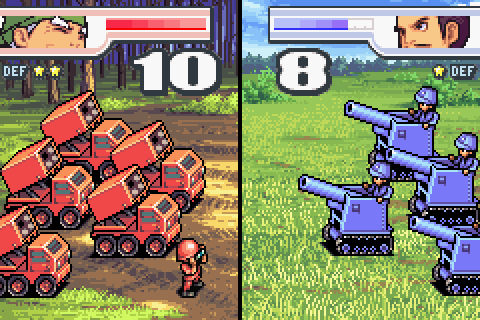
And this just takes the cake. See, I may have mentioned this before, but defence in AW1, 2 and DS is subtracted as a percentage from the attack score. A +10% defence boost means you attack at 90% of full effectiveness, a +30% defence boost means attacks are at 70% effectiveness, a +60% boost translates to 40% effectiveness... and a +100% boost leads to 0% effectiveness. Between Kanbei's innate defence, the defence boost from Samurai Spirit and the fact that this mech is standing on a mountain, we've got that 100% defence boost right here. Nothing is hurting that mech right now (well, all right, Tsunami, Meteor Strike or any other mass damage thing would work. But AW1 Max, say, would bounce right off).
If I might be permitted to butt in on Seraphroy's territory for a minute, Days of Ruin changes defence boosts so that the attack score is divided by them rather than them subtracting from it. So a +10% defence boost leads to 91% effectiveness, +30% leads to 77% effectiveness, +60% to 62% effectiveness, and +100 to 50% effectiveness. This is why that game hands out defence boosts like bankers' bonuses: they're no longer the game breaker that the previous games had to deal with.
Anyway, let's not attack that mech. Not even to see how much counterattack damage my middie would receive.
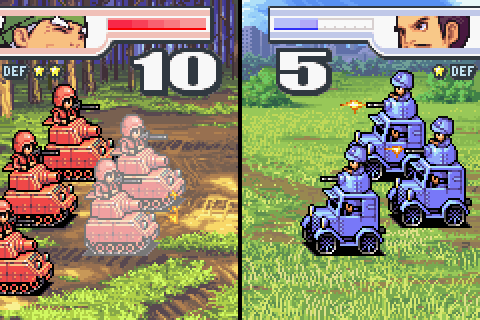
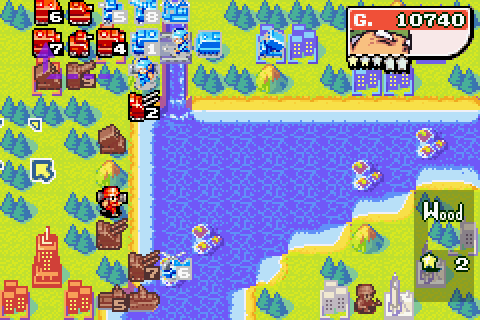
I'll attack this recon, though, and join the two middies together. Another 1600G for Hachi's cash reserve.
Can I get lucky and finish off this medium tank?
No. Again, I think I've mentioned this, but luck is also affected by defence.
Moving and retreating and stuff and let's see what Kanbei's response is.

It's pretty nasty.
Although this B copter's wandered right into my trap.
Day 5
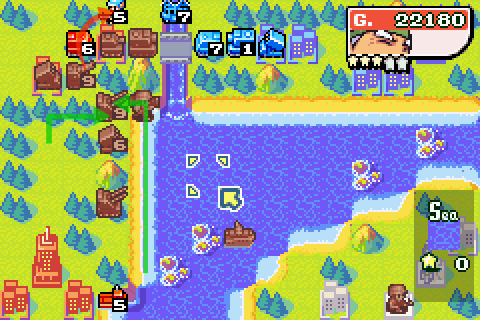
Still, Kanbei has some nasty stuff out there. In particular, he's got a mech capturing one of Hachi's precious cities. Let's see if we can't soften it a bit. Time to introduce something that'll be familiar to anyone who's seen the AW2 or AWDS LP, but isn't present in AW1: missile silos.
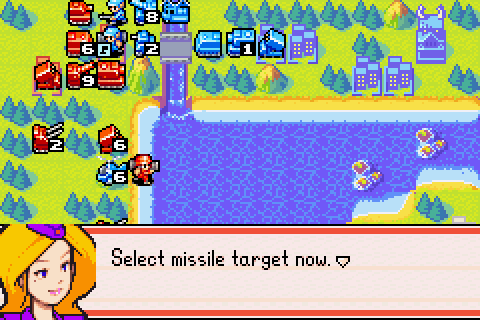
Missile silos are buildings. They can't be captured, but park an infantry or mech unit on one and you get the option to fire a missile.
You target the missile launcher manually. They have the same radius of effect as a Meteor Strike...
... but do three damage instead of eight. Still, that's a pretty handy package to have. Although part of me is now wondering whether I should have used it when Hachi already pretty much has the upper hand overall
 .
.
Moving on, let's attack some things. AA takes down the B copter, and with the sub down my battleship can moves forward and be some good ol' fire support.
Rockets whittle down Kanbei's tenacious mech.

And nice clear cities are of course important as Kanbei.
Rolling through to mash up more stuff - the 1HP recon and 5HP artillery, this time.
It leaves me in rocket range. But oh well.
Arty attacks infantry, two of the AAs join up and other stuff moves around.


Couple more attacks from Kanbei.
Day 6
But at least some of the damage gets healed up here.

Arty and AA take care of the stragglers this side of the river.
And the battleship moves into place, hovering just outside of rocket range.

Can I finish this APC off...?
Nope.

Incidentally, I didn't fire the second missile because I want to funnel as much funding as possible into Hachi's power meter so we can see a second Merchant Union. A second missile would certainly have sped things up though.
And possibly saved this AA from dying

Day 7
Hmm... not far off on filling the power bar off.

This ought to do it.

There we go.


But Kanbei was only trying to heal up, Hachi

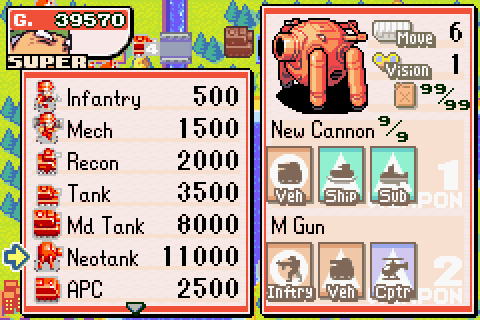
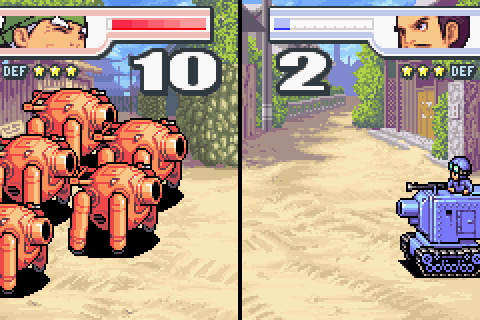
Oh well, let's go absolutely insane and deploy some of those new-fangled Neotanks we saw in the Field Training Grudge Match.
Yeah, three should be enough.
Closing in...
Kanbei responds with his CO Power.
Which to be fair, does a decent job here. For a 3HP rocket launcher.
Day 8

But it's time to end this.
Battleship clears out the rocket launcher.
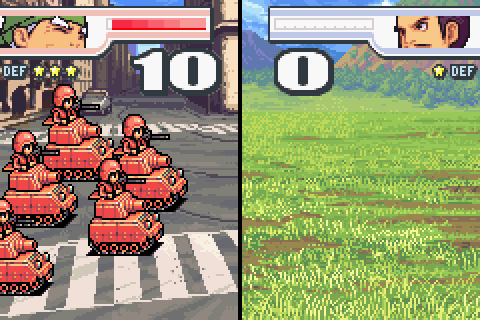
One of the neotanks gets to see some action at least, softening up the middie...
... for our own middie to finish the job.
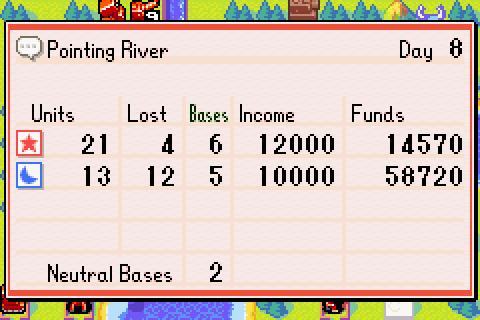
Before we finish this off, let's do a quick run-down of how this would score if it actually were a ranked mission rather than mucking around in Vs. Mode. Speed scores are pretty arbitrary and subjective of course, but on a map this small 8 days would probably count me out of a perfect score there - especially given I was showboating a little towards the end to ensure that we got a second Merchant Union. Power is easy enough - Kanbei started with 13 units, so we'd need to take out at least two in one day to get a perfect Power score. Since we're taking out three units this turn alone, that's no problem. Going by a Campaign scoring metric, we're fine for technique - 21 units deployed, 4 lost is just on the right side of "perfect" technique. We'd suffer a bit if we treated this like a War Room map, since then we'd only be allowed to lose two units. But hey, not a bad result.
But with that out of the way, we can have the 4HP tank rumble through and take down this APC.

Damn, Hachi's smug. But with every justification.
Anyway, tune in next time for the final Final Battle! Might be a little while, as I'm going on holiday to East Anglia next week. But yeah, eventually Max and Eagle will be joining Andy for Operation Golden Ending...